Today I am going to work on the middle part of the folio album. I decided to use the tags as a closure to the top and bottom flaps of the inner part of the folio. I attached the tags so that they created a sort of belly band for another tag to be placed. I think it turned out to be a clever way to add another piece of interactivity to the piece.
On the inner part of the bottom flap, I attached an envelope that I had sliced the side off of, creating a pocket. I put some cut outs from the paper collection into the pocket. I don't know if they will stay here…I'm thinking about it.
Here is the other flap with it's closure-tag attached. This is turning out cool!
On the inner side of the upper flap I created a waterfall piece with some of the kraft cards that I pulled for this project. Yes, more places for pictures!!!
Now, the next thing I did was think about the back of the folio. You didn't think I would leave this alone did you? That gigantic envelope I pulled fit perfectly here, so I attached it by the flap to the back of the folio. Then I added magnets to the folio and to the envelope for closure, and covered it with papers.
I put some file folders from the paper collection in the envelope. I then made a pocket out of patterned papers and put some tags in from the paper collection. (I will show a picture of the products used on the last blog post.)
Then I covered the back of the envelope. Done.
I used one of my binding mechanisms to attach the file folders together. I first cut them down a little width wise, so that they would fit into the folio.
The last piece of the binding was leftover…Hummmm…I see a pocket in my future.
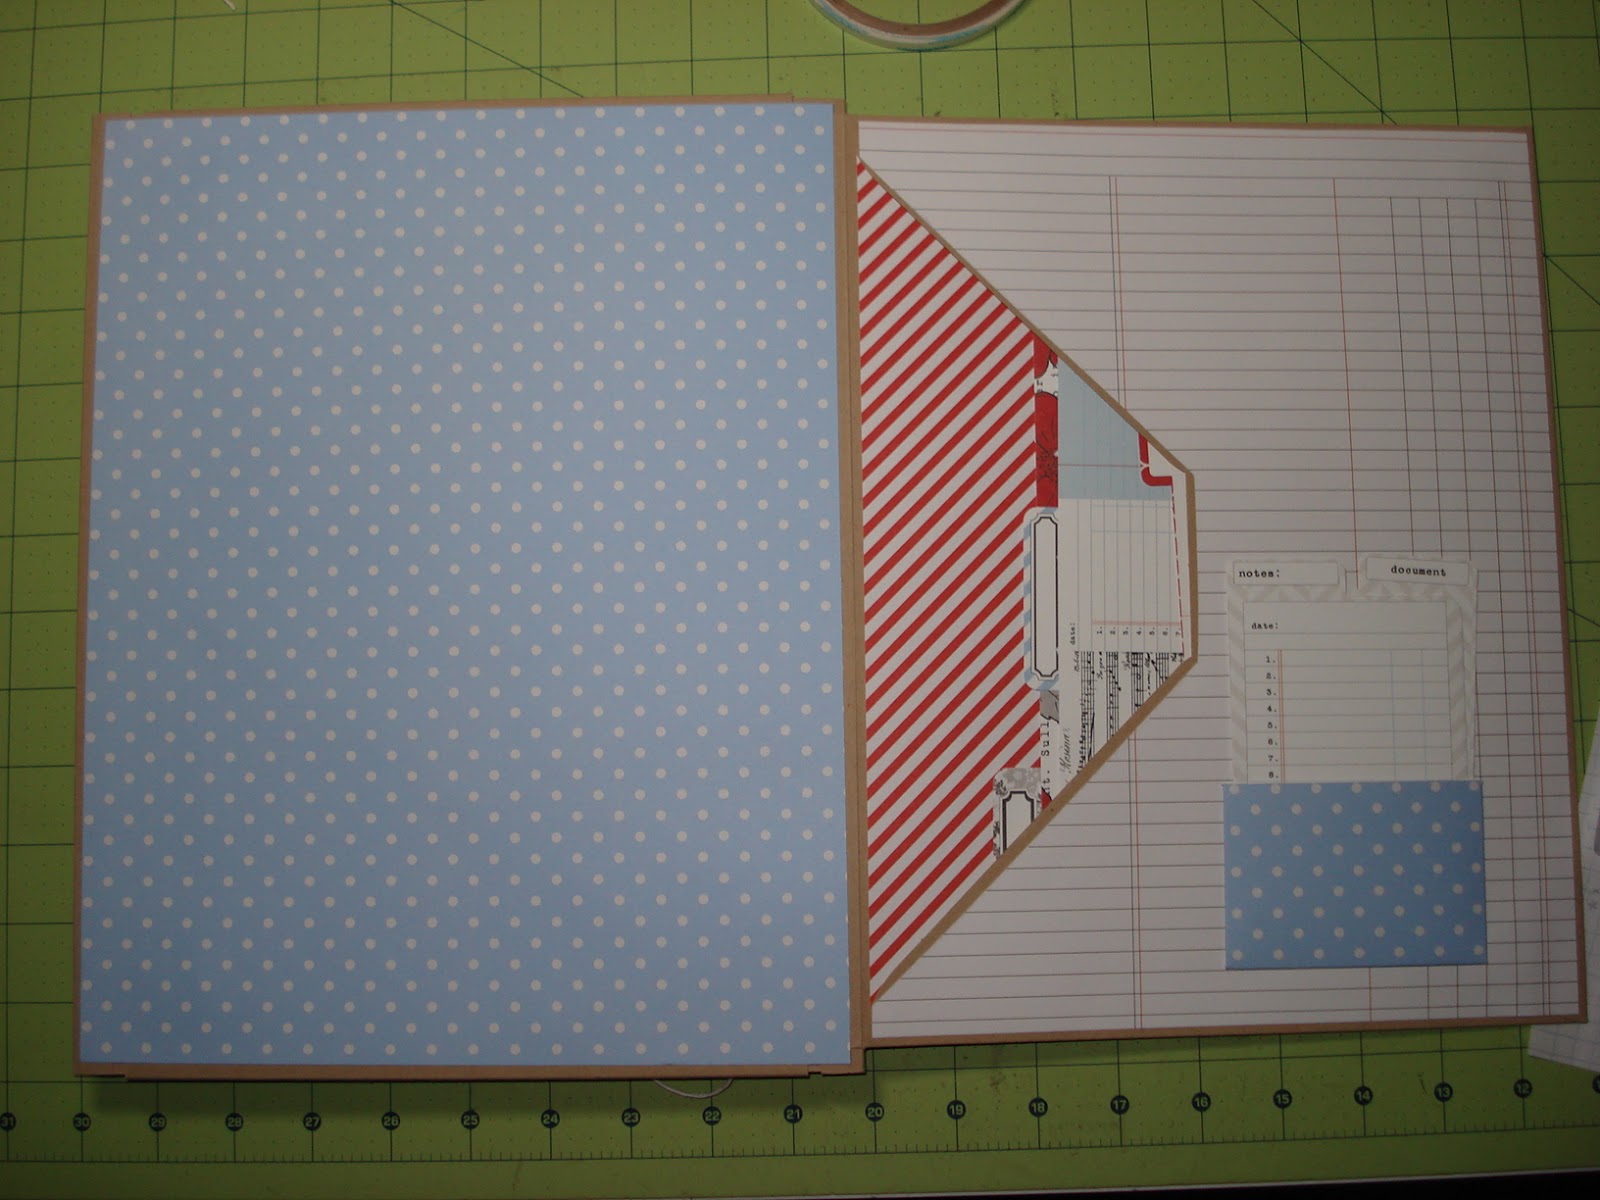
I made some templates and then covered the file folders with papers.
I used pieces of the kraft cards to create flaps to attach the pocket to the inside back of the folio.
Here is the file folder assembly all finished and ready to put into the folio.
The pocket covered. This is getting exciting. This album is coming together nicely.
A wide view of the album.
A close up of the inside of the folio. I used twine to create a closure with the tags. I attached the twine to the bottom tag, then threaded one of the tails through the top tag, then tied with a bow. Simply untie and open the flaps.
The file folder assembly fits under these flaps.
The back pocket attachment to the back page of the folio.
In the middle of the right "spine" piece I punched a hole, and threaded through a Tim Holtz loop elastic.
This is the closure for the whole album.
OK, this is the end of todays post. I sure hope that you liked it. I know it's long, but I think it's turning out to be a fun project.
Stay crafty, my friends!


No comments:
Post a Comment